Posts

Showing posts from January, 2020

Toolkit 2: Maya - Pipeline 1 Head Modelling - Snagging List

Image
For the snagging list tutorial, we made some final adjustments to the skull cap for Jet Pack Jones and did a final cleanup of the model as well as the scene. I'm glad that I have been able to complete the modelling of the head as it is the more difficult part of building a character. With this completed, I will now move on to modelling the body.

Toolkit 2: Maya - Pipeline 1 Head Modelling - Skull Cap

Image
For this tutorial, I was guided on how to create the skull cap for Jet Pack Jones. This tutorial took me longer to complete than I had hoped, as I was figuring out how to model the second strap around the back of the head. However, I managed to complete it and now have one more tutorial to complete before I am finished with modelling the head.

Toolkit 2: Maya - Facial Animation

Image
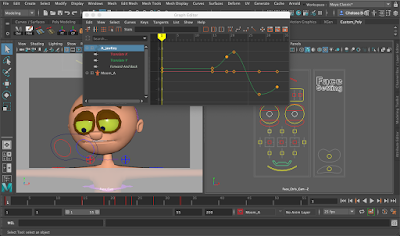
For our first Maya class of the term, we looked facial animation and what components it takes to make the animation look believable. We practised by following a video of a man changing expressions, and then applying that to Moom. I have a better understanding of how the eyes and eyebrows move, however I need to try and push myself further to see how far I can exaggerate the expression, perhaps making the head swoop more or including more squash and stretch. Moom Expression Change from Chelsea Butler on Vimeo .

Toolkit 2: Life Drawing - 20.01.20

Image
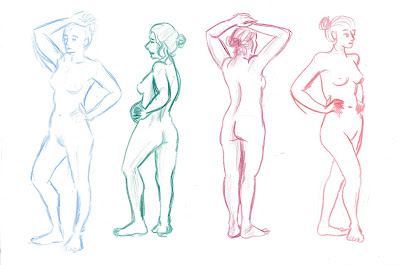
For our first life drawing session of the term, we started off with some quick five minute poses to warm up. We then proceeded to look at artists such as Henry Moore and Alberto Giacometti and try to incorporate their style in to our drawings. 

Toolkit 2: Maya - Pipeline 1 Head Modelling - Eyebrows

Image
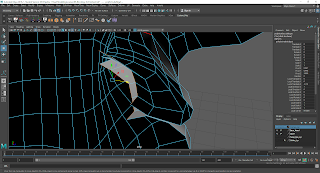
For this tutorial, we created a pair of eyebrows for our model. I have to admit that it was a little tricky to get them in to the correct position and just the right shape, but I persevered and managed to make them suitable.They will most likely alter slightly when I begin modelling the skullcap.

Toolkit 2: Maya - Pipeline 1 Head Modelling - Adding a Throat

Image
For this tutorial, we have now added in a throat to our character, Jet Pack Jones. It was relatively straight forward, but it's important to remember that the geometry is all facing the same way.

Premise: Initial Ideas

After speaking with Alan and Justin in regards to the Premise project, I’ve come to the realisation that I wanted to make my project character based, as I would like to see myself as a Character Designer, or Character Design Artist, after graduation.  I initially had an idea, relating to something personal for me, about someone being chased by a monster but then making peace with it. I’m not completely set on this idea as of yet, however I’m having a little difficulty coming up with something that’s not too generic.  I was advised to look at my surroundings in my day-to-day life, and take what I see as some inspiration for my project, perhaps create sentences and keywords that I could refer to. Another approach mentioned was to ask myself a ‘what if’ question and play on the ideas. The other day, as I was taking a walk, I saw some kids in my local park playing pretend together. It got me thinking of how I used to play pretend with my toys. I would dream up a world...
Toolkit 2: Maya - Lighting & Rendering 2 - Sub Surface Scattering

Image
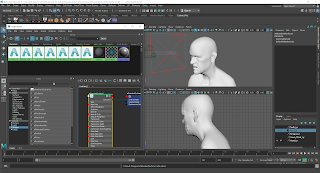
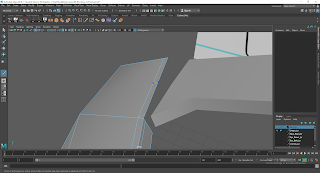
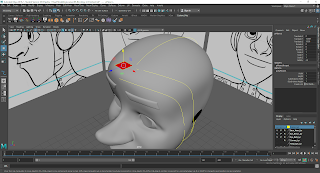
For this tutorial, we explored how to create a more realistic skin texture for a model using sub surface scattering in Maya. I found this to be a complex process as there are so many things that you need to plug in to the correct places. I also had some trouble with the displacement because the model started to become disfigured in the render, as pictured below. I feel that I need to go over this tutorial a few more times in order for me to understand it fully.

Toolkit 2: Maya - Lighting & Rendering 2 - Motion Blur

Image
This tutorial showed the different ways to add motion blur to an animated object, as well as the pros and cons for each method. I found this a little confusing at first because I don't have access to many Adobe products and I have never really used them before, but I'm sure I will improve my skills with a bit more practice. 

Toolkit 2: Maya - Lighting & Rendering 2 - Displacement

Image
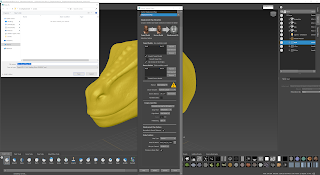
For this tutorial, we were introduced to different types of displacement maps and how they can be extracted from Mudbox and imported in to Maya. The first displacement map involving the dinosaur head was a little difficult to get my head around because after following the tutorial, when I set the height to 10 as instructed, the model became extremely lumpy and jagged, as seen in the image below. I decided to re-render the model with the height of 1 after. The vector displacement map that was used on the toadstool was much easier to follow once I was shown what to do, and there wasn't any crazy results. Unfortunately I couldn't find the texture to add on to the toadstool in the files.

Toolkit 2: Maya - Check In Post - Resubmission

Jet Pack Jones: Preparation & Rough Blocking:  https://chelsea-a-butler.blogspot.com/2019/10/toolkit-2-maya-pipeline-1-head.html Rough Blocking 2:  https://chelsea-a-butler.blogspot.com/2019/10/toolkit-2-maya-pipeline-1-head_21.html The Mouth:  https://chelsea-a-butler.blogspot.com/2019/11/toolkit-2-maya-pipeline-1-head.html The Eye:  https://chelsea-a-butler.blogspot.com/2019/11/toolkit-2-maya-pipeline-1-head_18.html The Nose:  https://chelsea-a-butler.blogspot.com/2019/12/toolkit-2-maya-pipeline-1-head.html The Brow:  https://chelsea-a-butler.blogspot.com/2019/12/toolkit-2-maya-pipeline-1-head_31.html The Ear & Neck:  https://chelsea-a-butler.blogspot.com/2020/01/toolkit-2-maya-pipeline-1-head.html Sculpting & Cleanup:  https://chelsea-a-butler.blogspot.com/2020/01/toolkit-2-maya-pipeline-1-head_3.html Creating Detailed Eyes:  https://chelsea-a-butler.blogspot.com/2020/01/toolkit-2-maya-pipeline-1-head_66.html Lightin...

Character Design: Character Bible Final Submission - Love and Beyond

Love and Beyond Character Bible by Chelsea Butler on Scribd

Character Design: Linette Concept Art and Turnarounds

Image
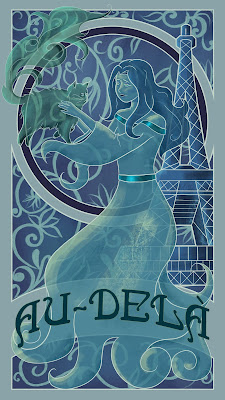
In continuation with my character design project, I have created an additional piece of concept art for my character Linette, this time in her ghost form. She is shown with my sidekick character, a cat named Coco, who was the former pet of RenĂ©, her love interest. This cat acts as company for Linette as she explores the spirit world in search for her love. The text is a French translation for the word “beyond” because her love knows no bounds, even beyond life itself. I have also included turnarounds for both her living and spirit form. Her spirit form does not show feet, but instead a cloud of smoke to make it more ghostly, however I’ve given her prominent shapes to keep in with the Art Nouveau theme.