Posts

Showing posts with the label animation and character

Major: Animation Stills

Image
Here are some rendered stills from my animation with added lighting.

Major: Shot 1 Playblast Animation Test

Image
This is a playblast test to see how my scene will look with the animation and the props. I haven't included any lighting or the sky as of yet, and I need to tweak the characters movement to feel more natural. 

Major: Updated Turnarounds

Image
       

Major: Character Turnarounds

Image
These are the turnarounds for my characters with their final textures. I still need to add NCloth to the sleeves of the dresses and one of the skirts, but overall I am very pleased with the outcome.

Toolkit 2: Maya - Check In Post - Resubmission

Jet Pack Jones: Preparation & Rough Blocking:  https://chelsea-a-butler.blogspot.com/2019/10/toolkit-2-maya-pipeline-1-head.html Rough Blocking 2:  https://chelsea-a-butler.blogspot.com/2019/10/toolkit-2-maya-pipeline-1-head_21.html The Mouth:  https://chelsea-a-butler.blogspot.com/2019/11/toolkit-2-maya-pipeline-1-head.html The Eye:  https://chelsea-a-butler.blogspot.com/2019/11/toolkit-2-maya-pipeline-1-head_18.html The Nose:  https://chelsea-a-butler.blogspot.com/2019/12/toolkit-2-maya-pipeline-1-head.html The Brow:  https://chelsea-a-butler.blogspot.com/2019/12/toolkit-2-maya-pipeline-1-head_31.html The Ear & Neck:  https://chelsea-a-butler.blogspot.com/2020/01/toolkit-2-maya-pipeline-1-head.html Sculpting & Cleanup:  https://chelsea-a-butler.blogspot.com/2020/01/toolkit-2-maya-pipeline-1-head_3.html Creating Detailed Eyes:  https://chelsea-a-butler.blogspot.com/2020/01/toolkit-2-maya-pipeline-1-head_66.html Lightin...

Collaboration: Scene 2 Playblast

Image
Here is a quick playblast of one of the scenes that will be featured in our group animation. I used pose-to-pose animation to figure out the movements of each character. I have found this task to be a bit difficult, but I will do my best to keep working on the animation.

Collaboration: Character Orthographs

Image
As the characters are going to have costume based props on their being, I have also created orthographs for these as well.

Collaboration: Character Costumes

Image
For our collaboration project, my group was tasked with creating a short animation based on the concept of "Deleted Scenes/Outtakes". We decided to take the movie, "Captain America: Civil War" and create some comedic skits based on things going wrong behind the scenes.  As the characters and scenes already have set designs, I needed to then figure out how I could incorporate Moom's cartoon-y character in to the costumes. I decide to take reference from the original comic books, as well as looking at the costumes from the movie and simplifying them down to their basic lines, shapes, and colours. Below are the examples that I've created for the characters that we plan on using in our group animation.

Artist Toolkit: Animation and Character - Showreel

UCA Animation Showreel from Chelsea Butler on Vimeo .

Artist Toolkit: Animation and Character - Describing Taste

Image
At the beginning of today's session, Meg showed us a clip from Disney Pixar's "Ratatouille" of the scene where Remmy is tasting food and reacting to it. So our task for today was to create a short animation to describe the taste of a food. We couldn't be literal about it though, we needed to be a bit more abstract in our approach. I decided to describe tomato pasta, to which I wrote down a few key words to help me out. I also needed to consider how colour play into it, and I couldn't be literal about it, so with my key words, I decided to keep the tone warm and smooth to emphasise what I perceive my food to be. 

Artist Toolkit: Animation and Character - Classic and Motion Tweening in Flash

Image
So this is technically my first time using Adobe Flash, and I'm really enjoying it! It's not too difficult to learn, so I think I've grasped the basics of creating bouncy balls :) Time to knuckle down and get to work!

Animation and Character: Blob Character Test

Image
Drafting of the sequence: Character model sheet: Graphing the position of the character in the animation: So currently in Meg's class, we are creating a blob character to animate over the course of a few days, adding new elements each session. This session we are trying to have our character complete an obstacle. As this is a test, my character doesn't have many features yet, but at the moment I just wanted to see how the animation pans out before I finalise the frames. Meg is going to help me make adjustments as there are a few things I need to improve. I will be re-drawing a couple of frames as the character loses volume somewhere when he jumps towards the box, and then I will be prolonging some other frames to create a more dramatic sequence. Edit:

Artist Toolkit: Zoetrope Test Animation

It may not be the best quality video, but here is a rough test of how I plan to lay out each frame of my final zoetrope strip. I thought I'd have a fairy do a backflip in light of the upcoming festive season. :)

Artist Toolkit: Animation and Character - Pixalation

So today in our animation session, we were briefed on our mini project of making a zoetrope animation. We then discussed what we would put into our animation strip and how many frames we needed. Due to the fact that we had extra time towards the end of the session, we then decided to create our own pixilation animation. We were meant to do it next week, but we didn't want to pass up on the opportunity of showing off our Halloween costumes! :)

It's all a bit loopy - Our First Session with Animation and Character

Image
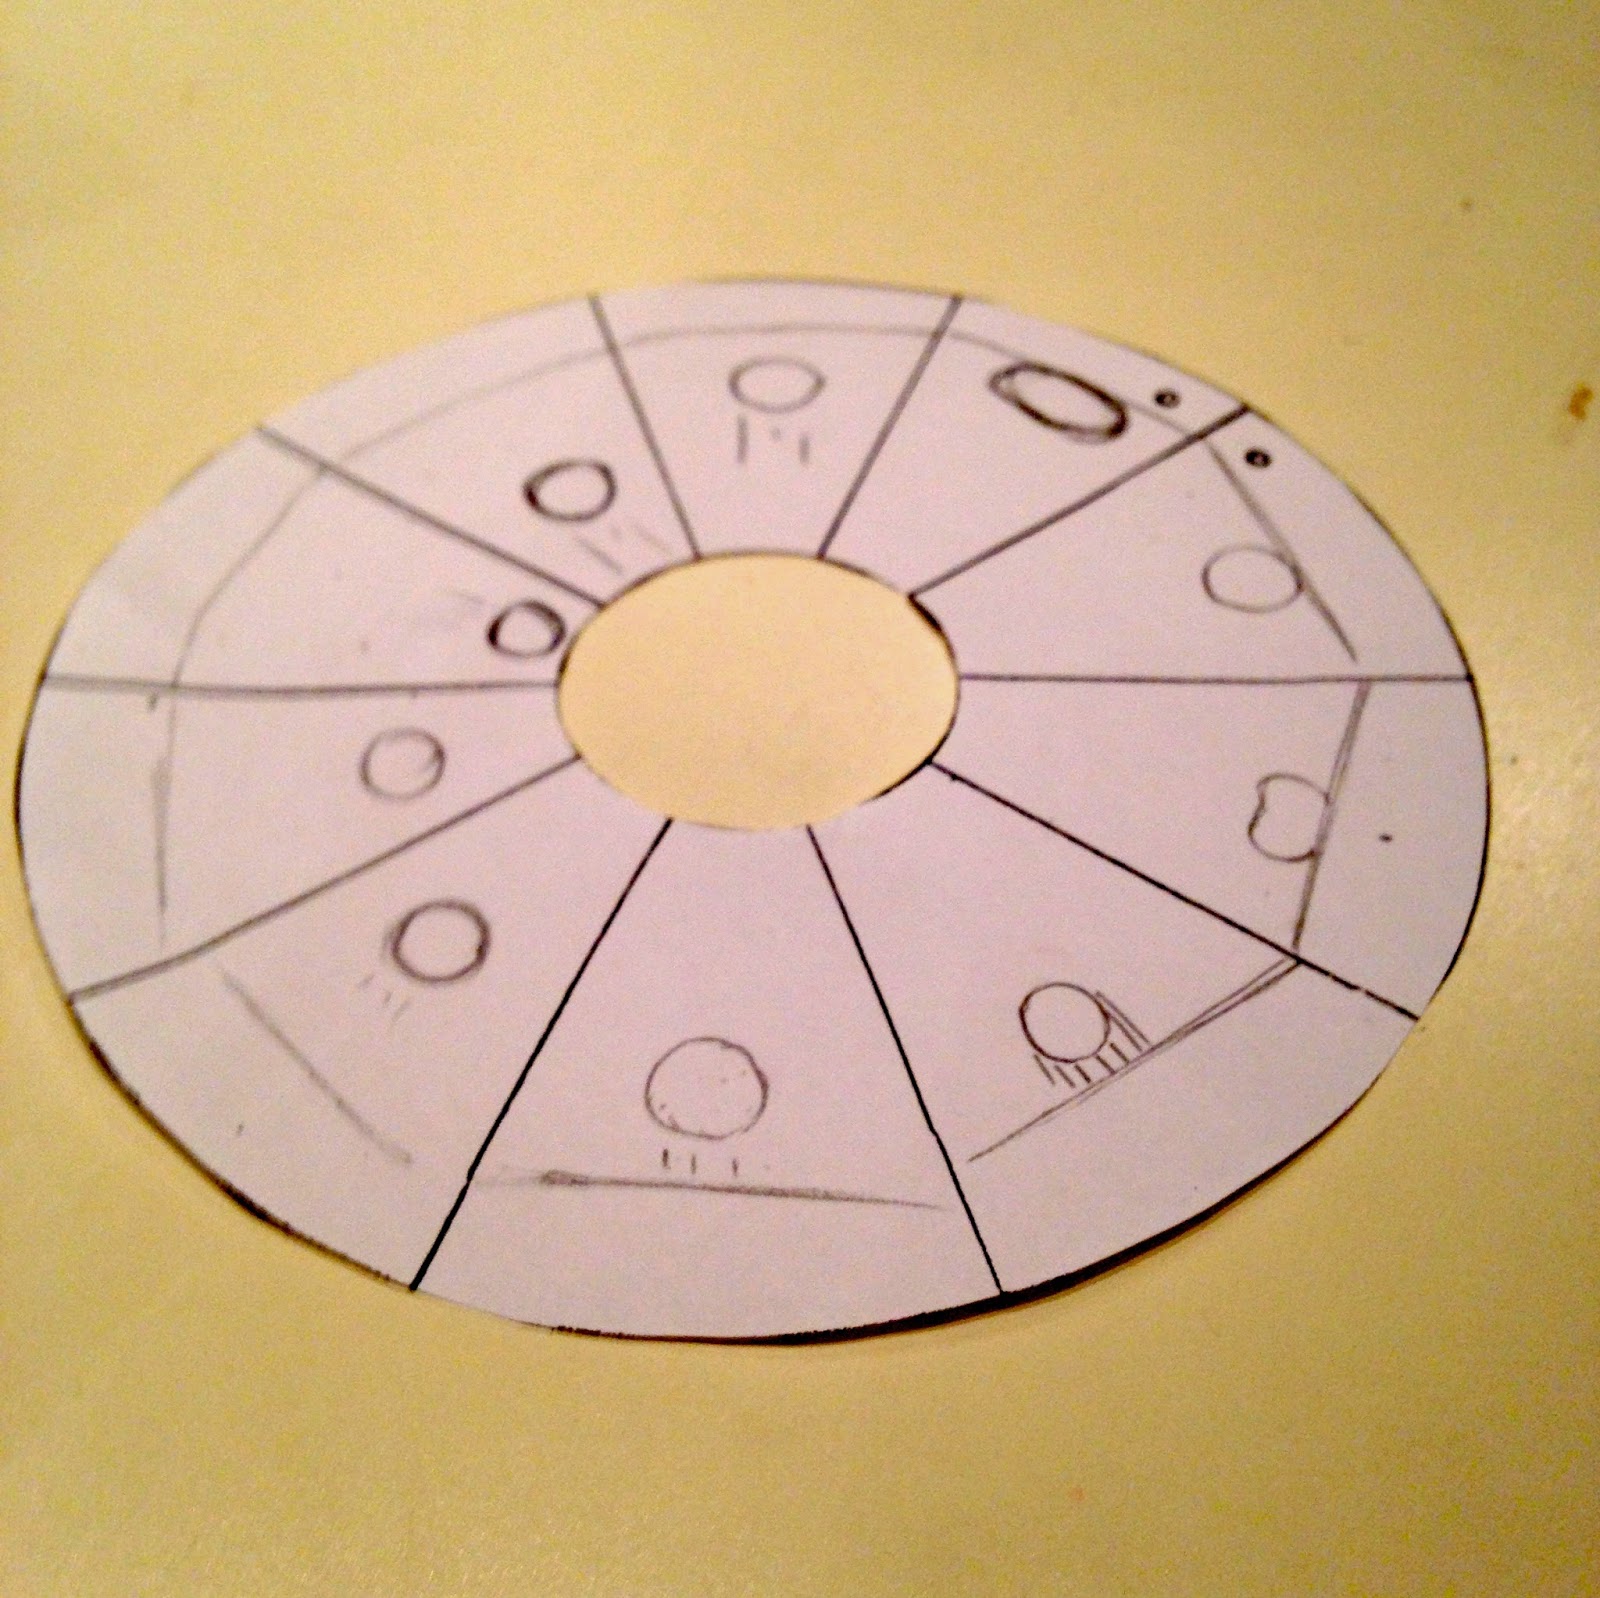
So on Friday, our year was due our first session with Animation and Character. As a start, we were tasked with creating a loop animation using a paper disk: Basically, this disk was going to be placed on a zeotrope. A zeotrope is a device that allows the illusion of motion to be displayed using a series of images drawn so that they are believed to be going through the process of motion. In this video, the 2D animation is displayed on the mirror, reflecting the image to the viewer. The zeotrope is spun at a certain speed so that the illusion of motion is taking place. Although, because this was our first time handling one of these devices, we didn't realise that we had made our ball look like it was bouncing on the ceiling!  We then progressed to create a group morph animation, where we had to draw the person sitting on our left, and then copy the image of ourselves created by the person sitting on our right. With these two images, we then had to produce ...